
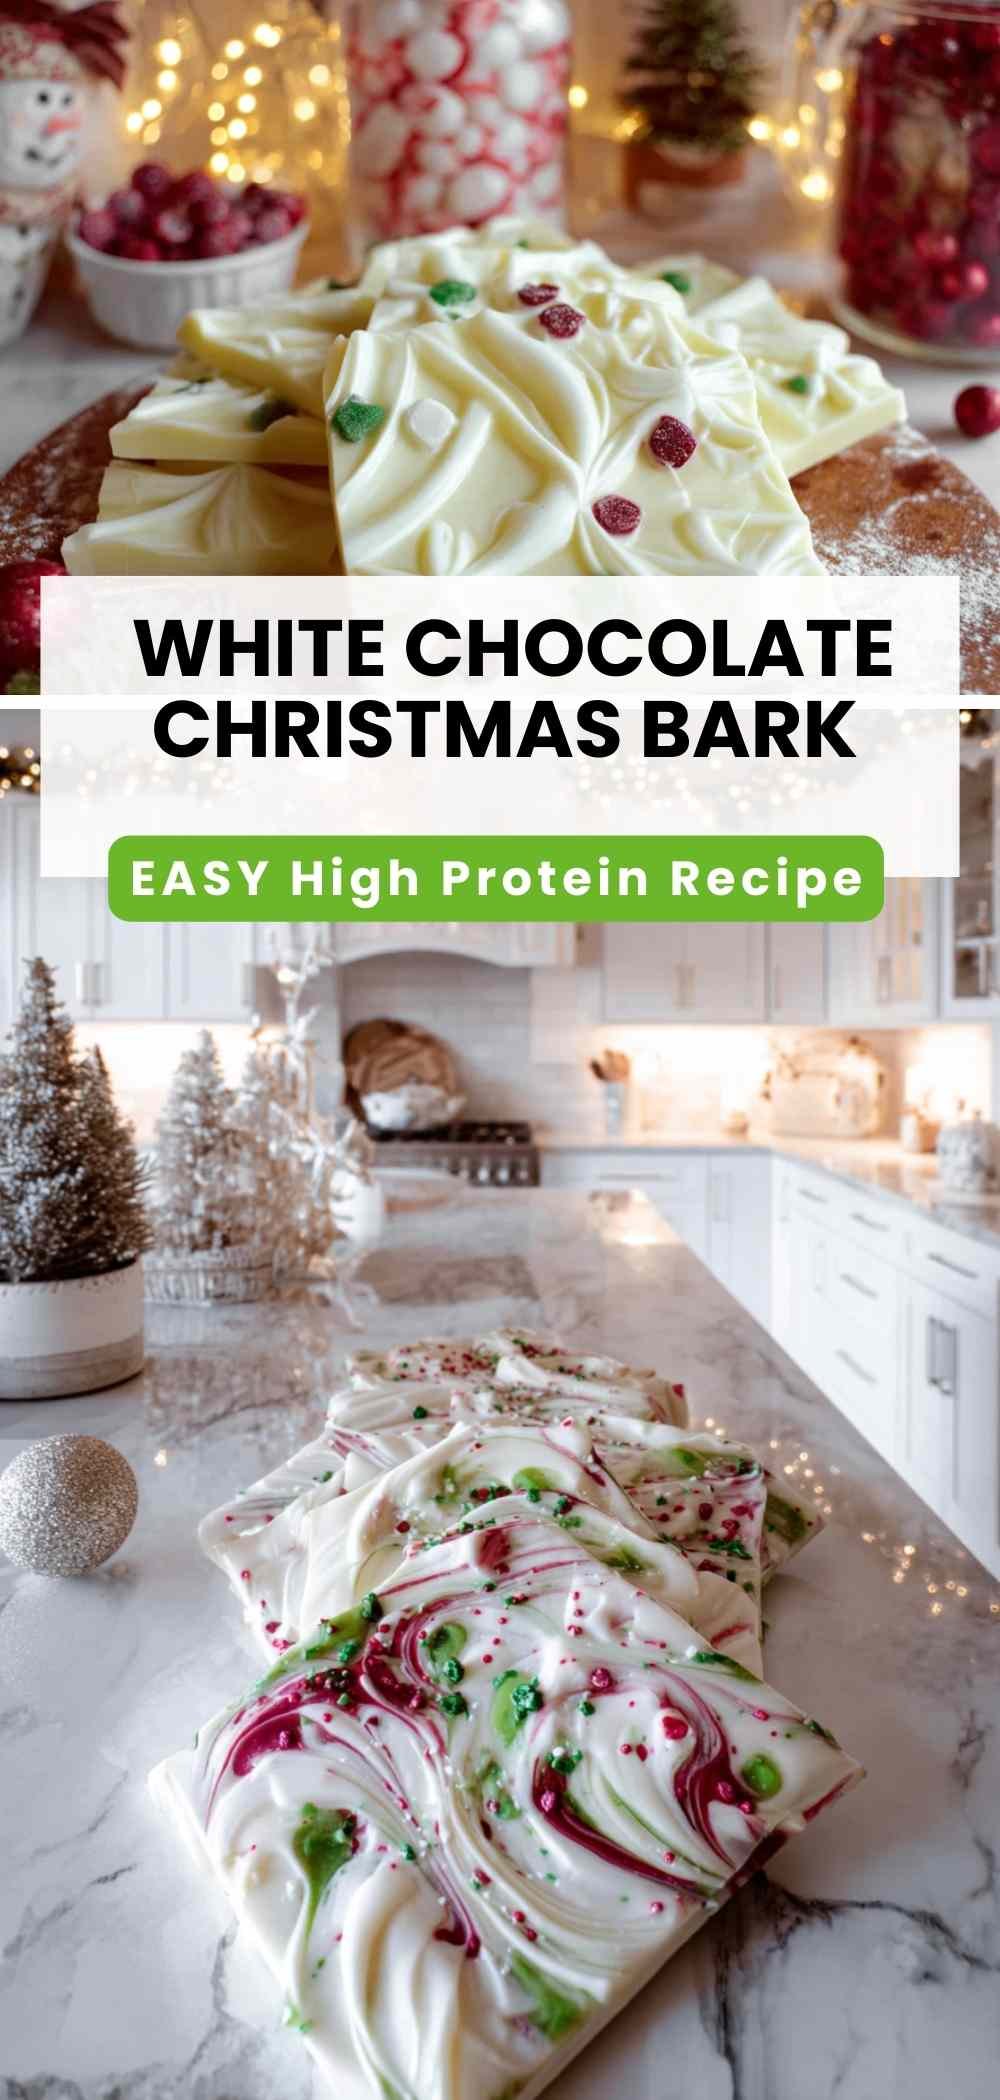
White Chocolate Christmas Bark transforms simple ingredients into a stunning holiday treat that looks like it came from an expensive candy shop. I discovered this recipe during a particularly chaotic December when I needed something impressive but didn’t have hours to spend in the kitchen.
There’s something magical about melting white chocolate and watching it transform into a canvas for festive colors and textures. Last Christmas, my daughter helped me make this bark for her school party, and we ended up with chocolate fingerprints everywhere—but also the most beautiful candy that disappeared within minutes. The first time I attempted this, I actually overheated the white chocolate and it turned into a grainy mess, but I’ve learned the key is patience and low heat. The best part about White Chocolate Christmas Bark is how forgiving it is once you get the technique down; even if your swirls aren’t perfect, the end result always looks professionally crafted. This recipe combines creamy white chocolate with vibrant candy melts and cheerful sprinkles for a treat that’s both delicious and visually stunning. You’re going to love this one!
Table of Contents
Ingredients for White Chocolate Christmas Bark
I always use high-quality white chocolate chips for this recipe because they melt more smoothly and create a better texture than bargain brands. My go-to is Ghirardelli white chocolate chips, which consistently deliver rich flavor without the waxy texture some cheaper alternatives can have.
- 24 ounces white chocolate chips (or bars broken into pieces) – I recommend Ghirardelli or Guittard brands
- 3 ounces green candy melts – Wilton brand melts smoothly and holds color beautifully
- 3 ounces red candy melts – Pro tip: buy extra in case of overheating mishaps
- 2 tablespoons Christmas sprinkles (red, green, and white work perfectly)
- 2 tablespoons Christmas M&M’s (or any festive candy) – In my experience, mini M&M’s distribute more evenly than regular size
- Silpat mat or parchment paper for lining – I usually prefer Silpat for easier removal
- Toothpicks for swirling – wooden ones work better than plastic for creating clean lines
Step-by-Step Instructions
I recommend having all your ingredients measured and ready before you start melting anything, as you’ll need to work quickly once the chocolate is melted. Working in a cool kitchen (below 70°F) makes this process much easier.
Step 1: Line your large baking sheet with a Silpat mat or parchment paper, ensuring it lies completely flat without wrinkles that could create uneven bark thickness.
Step 2: Set up your double boiler system using two pots of different sizes with about 1 inch of water in each. Bring both to a gentle simmer (small bubbles, not a rolling boil). Place candy melts in separate heat-proof bowls over the smaller pot, stirring frequently until completely smooth, about 3-4 minutes per color. Troubleshooting tip: If candy melts seize, remove from heat and stir in 1 teaspoon of coconut oil.
Step 3: Melt the white chocolate in the larger bowl over the bigger pot, stirring constantly for 5-7 minutes until silky smooth. The chocolate should feel warm but not hot to the touch (around 100-105°F). Visual cue: The chocolate should pour in a smooth ribbon when lifted with a spoon.
Step 4: Quickly spread the melted white chocolate onto your prepared baking sheet using an offset spatula, creating an even layer about 1/4-inch thick. Work from center outward for the most even coverage.
Step 5: Drop small spoonfuls (about 1 teaspoon each) of the colored candy melts randomly across the white chocolate surface, then use toothpicks to create gentle swirl patterns. Don’t over-mix or colors will muddy together.
Step 6: Immediately sprinkle your Christmas candies and sprinkles over the surface while everything is still warm and will adhere properly. Press gently to ensure they stick.
Step 7: Refrigerate for 30 minutes or let set at room temperature for 2 hours until completely firm. Use a sharp knife to cut into approximately 16 pieces.
What to Serve with White Chocolate Christmas Bark
This festive bark pairs beautifully with warm beverages and creates stunning dessert presentations during the holiday season.
Hot Cocoa or Coffee: The creamy sweetness complements rich, warm drinks perfectly, creating a cozy winter treat experience that guests always love.
Fresh Berries: Strawberries or raspberries add a tart contrast that cuts through the rich white chocolate while providing beautiful color contrast on dessert platters.
High-Protein Ice Cream: Broken bark pieces make an elegant topping that adds festive flair and satisfying crunch to vanilla or chocolate ice cream bases.
Holiday Cookie Platters: Include bark pieces alongside protein brownies or blueberry muffins for variety in texture and visual appeal on dessert tables.
Champagne or Prosecco: The sweet, creamy bark creates an unexpectedly sophisticated pairing with bubbly drinks for adult holiday parties.
Storage & Serving Tips
Store your White Chocolate Christmas Bark in an airtight container at room temperature for up to 2-3 weeks, keeping pieces separated with parchment paper to prevent sticking. I recommend avoiding refrigeration unless your kitchen temperature exceeds 70°F, as condensation can create a cloudy appearance on the chocolate surface.
For serving, break bark into irregular pieces just before presenting for the most appealing rustic look. Pro tip: use a sharp knife to score cutting lines while the chocolate is still slightly soft, then break along those lines once completely set for cleaner edges.
This bark makes an excellent gift when packaged in clear cellophane bags tied with festive ribbons, or arranged in decorative tins for a more substantial present. My neighbors always request this recipe after receiving it as a holiday gift.
Conclusion
White Chocolate Christmas Bark proves that the most impressive treats are often the simplest to make. This recipe delivers professional-looking results with minimal effort, making it perfect for busy holiday schedules or last-minute gift needs. The combination of creamy white chocolate, vibrant colors, and festive toppings creates a treat that’s as beautiful as it is delicious. Give this recipe a try this holiday season, your family and friends will be amazed by your homemade candy-making skills!

White Chocolate Christmas Bark
Ingredients
Equipment
Method
- Line a large baking sheet with a Silpat mat or parchment paper, ensuring it lies completely flat without wrinkles.
- Set up double boiler with two pots of different sizes with 1 inch water in each. Bring to gentle simmer (small bubbles, not rolling boil). Place candy melts in separate heat-proof bowls over smaller pot, stirring frequently until smooth, 3-4 minutes per color. If candy melts seize, remove from heat and stir in 1 teaspoon coconut oil.
- Melt white chocolate in larger bowl over bigger pot, stirring constantly for 5-7 minutes until silky smooth and warm to touch (100-105°F). Chocolate should pour in smooth ribbon when lifted with spoon.
- Quickly spread melted white chocolate onto prepared baking sheet using offset spatula, creating even 1/4-inch thick layer from center outward.
- Drop small spoonfuls (about 1 teaspoon each) of colored candy melts randomly across white chocolate surface, then use toothpicks to create gentle swirl patterns without over-mixing.
- Immediately sprinkle Christmas candies and sprinkles over surface while warm. Press gently to ensure they stick.
- Refrigerate for 30 minutes or let set at room temperature for 2 hours until completely firm. Use sharp knife to cut into approximately 16 pieces.
Notes


